LEARNING LOG
My Square Mile assignment will be focused on the area immediately around my home but I found myself remembering characters & places from my childhood that I will never again have the opportunity to photographically document; the ‘characters’ are no longer alive or merely not the same many years on, places of beauty are not as aesthetically pleasing and buildings have been long replaced. If only we could turn back time! I found the quote below particularly poignant:
“In our earliest years we know a patch of ground in a detail we will never know anywhere again – site of discovery and putting names to things – people and places – working with difference and similitude – favourite places, places to avoid – neighbours and their habits, gestures and stories – textures, smells – also of play, imagination, experiment – finding the best location for doing things – creating wolds under our own control, fantasy landscapes” (Professor Mike Pearson)
Mapping
The first hurdle I faced with mapping 1 Sq mile from home is that an Ordnance Survey Map in paper/book format is not something we own in this household. With a little bit of patience and help from the internet the area I am to become more familiar with was established!
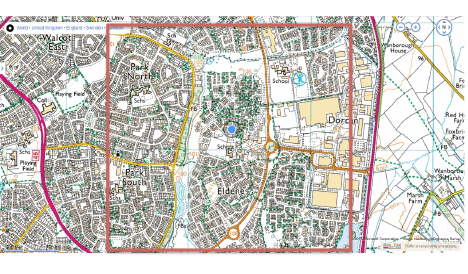
approximate 1 Sq Mile around SN3 3TQ
Next I turn my thoughts to a spider map; This is definitely an evolving item of reference. I started with the title, then branched off some of the thought processes I’d had so far on how to get started, including where I would go to get my images and what I expected to get from each area. I will get to the images in a moment but upon return the spider map was updated and extended dependent on what I was able to or unable to capture but that I’d had firm ideas for.
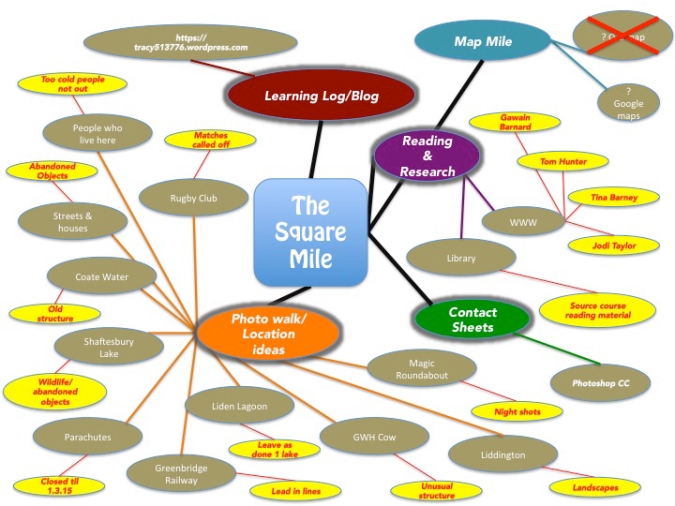
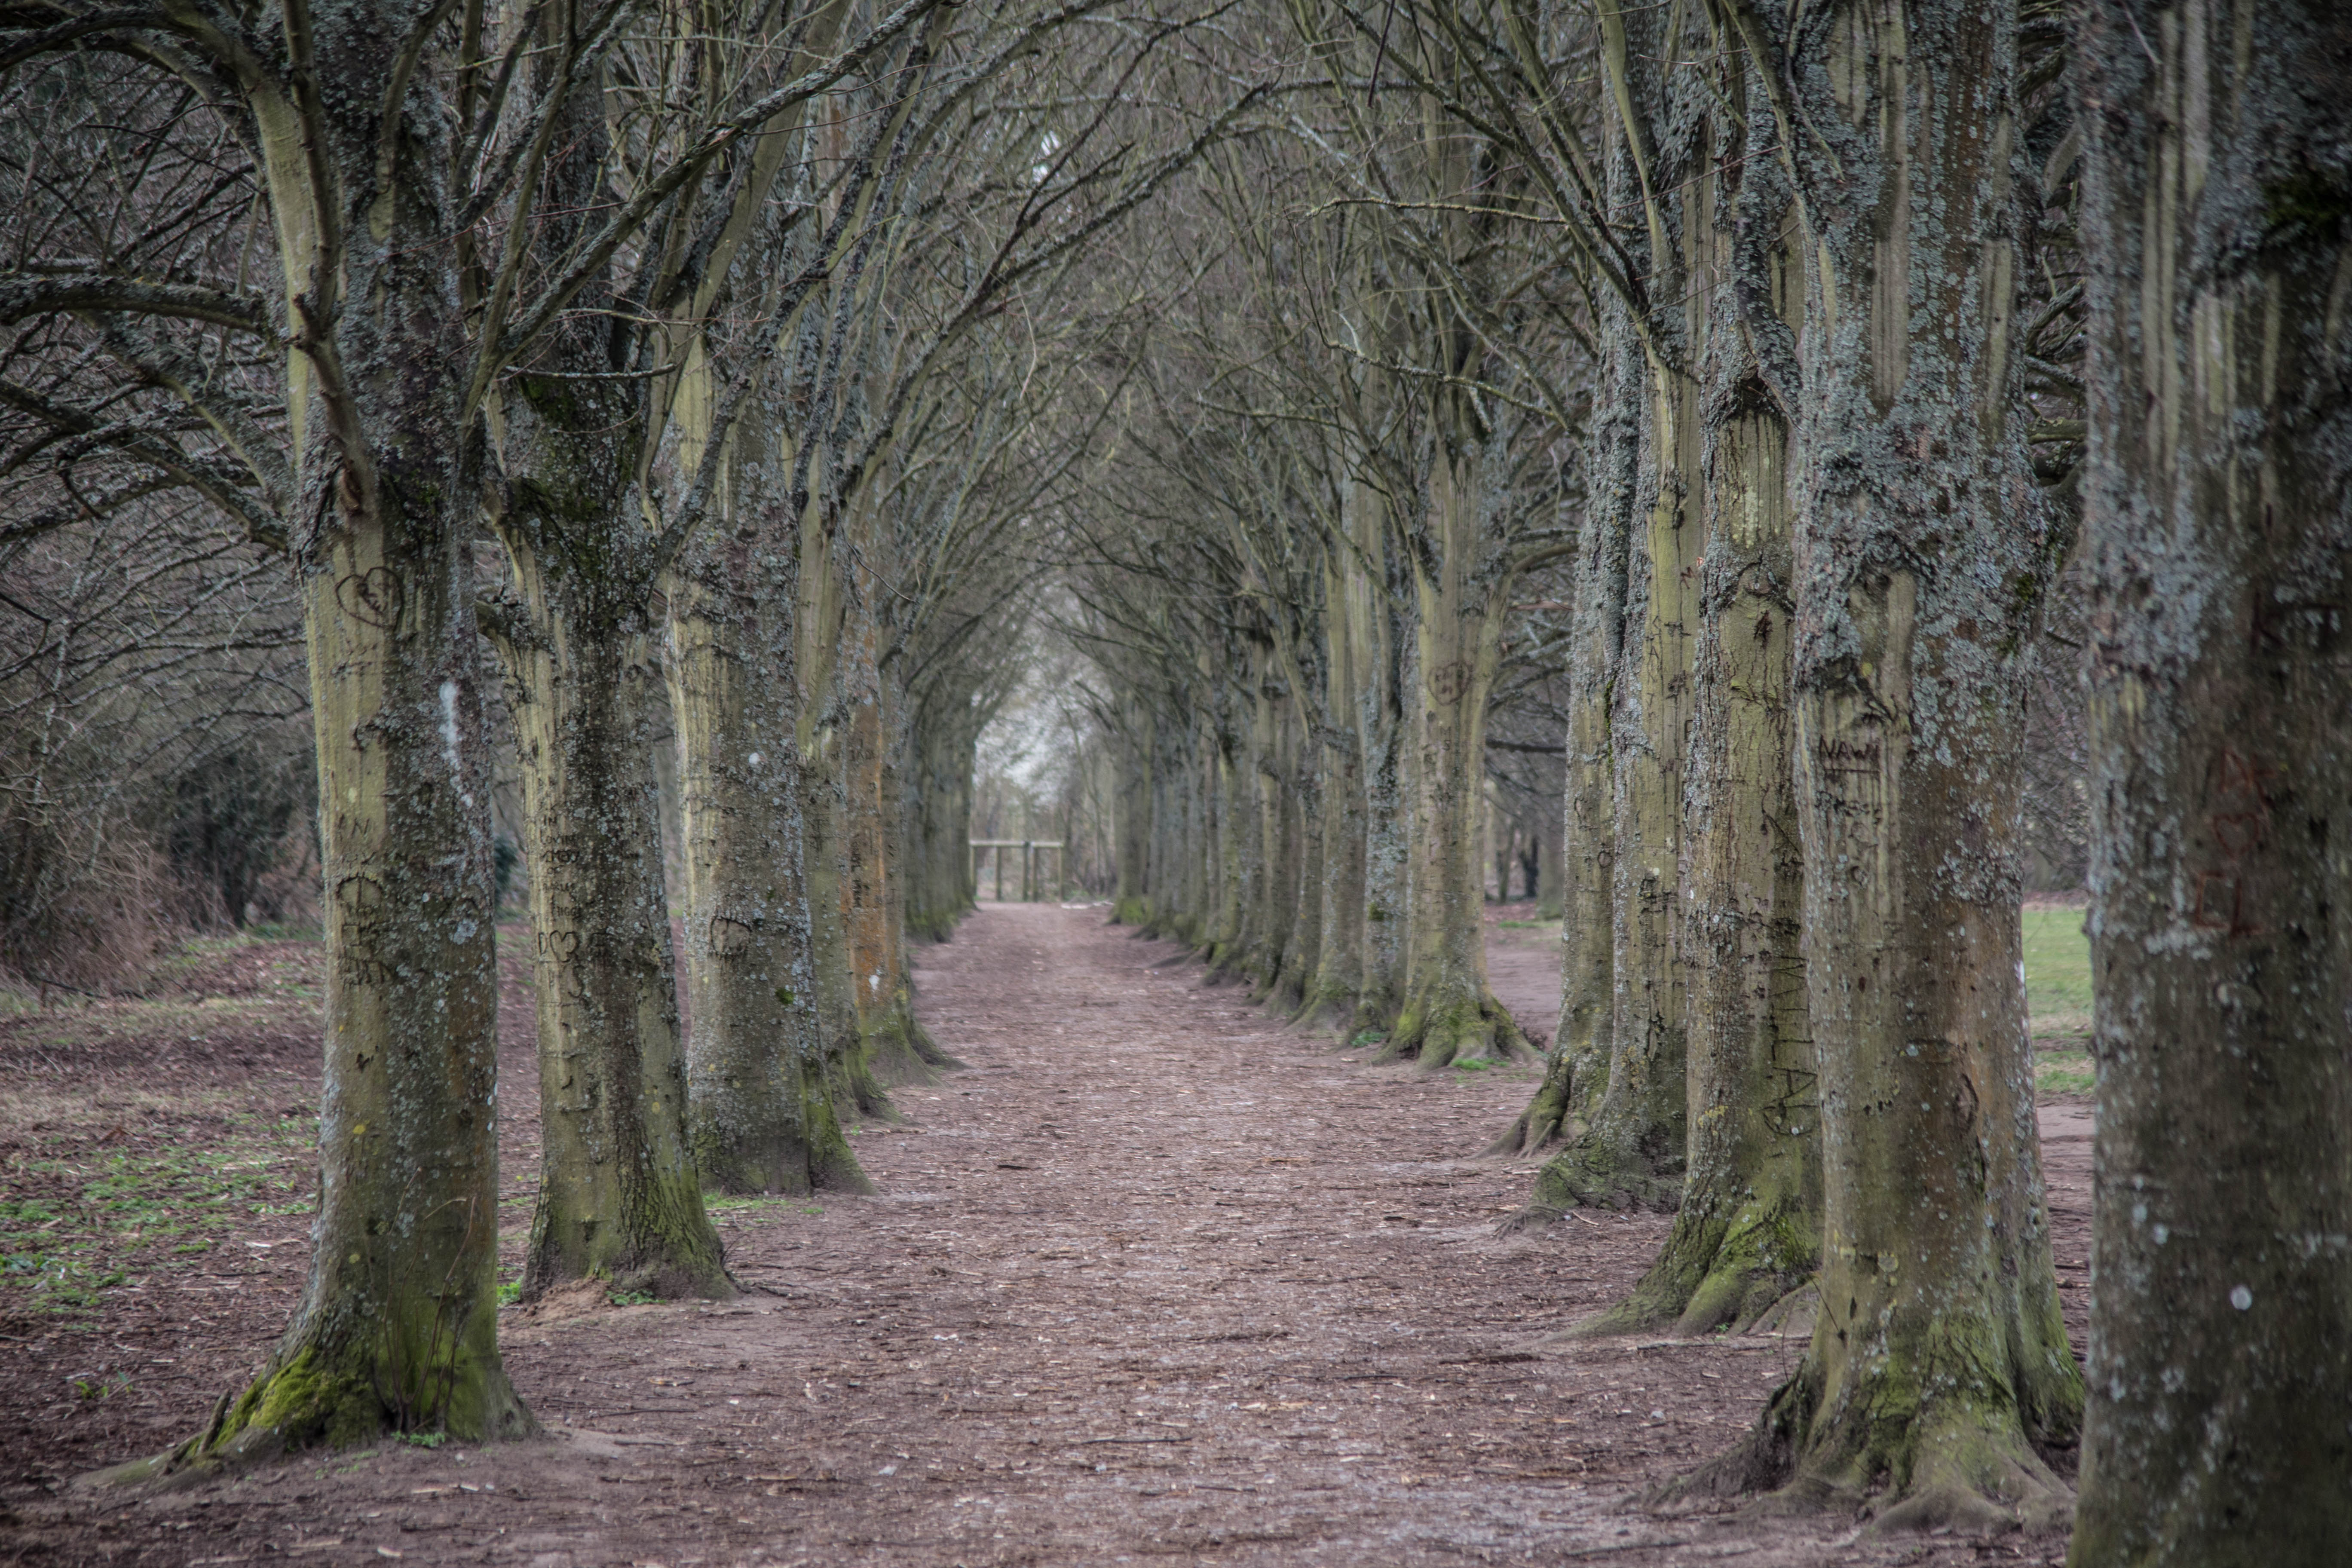
Spider Map of thoughts/ideas
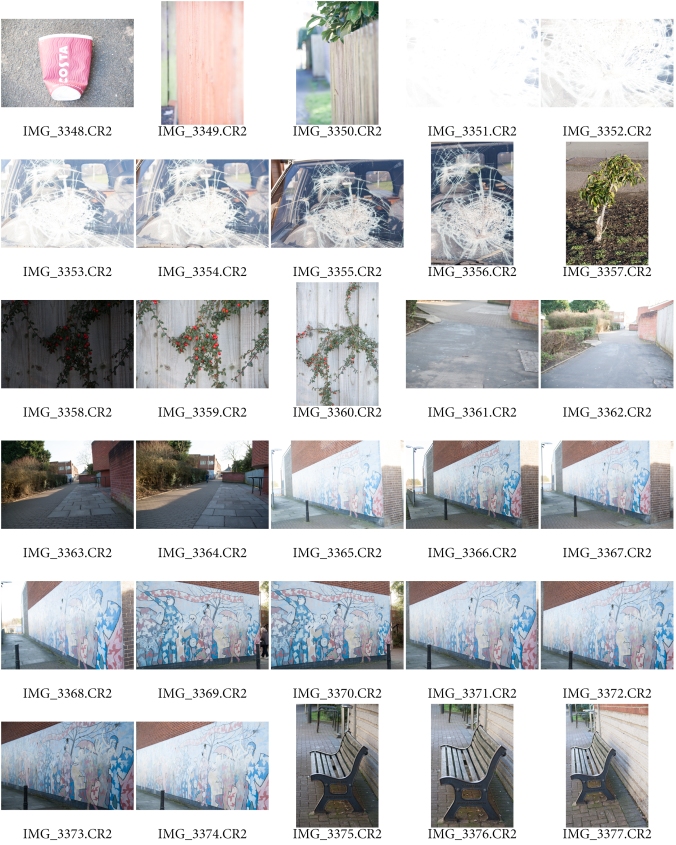
Photowalk 1 – 31/1/15
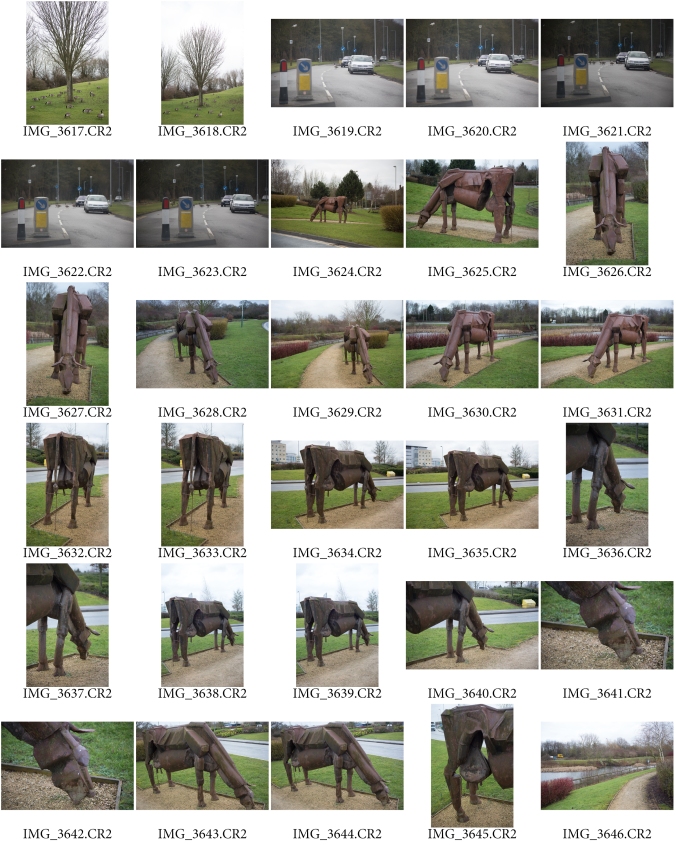
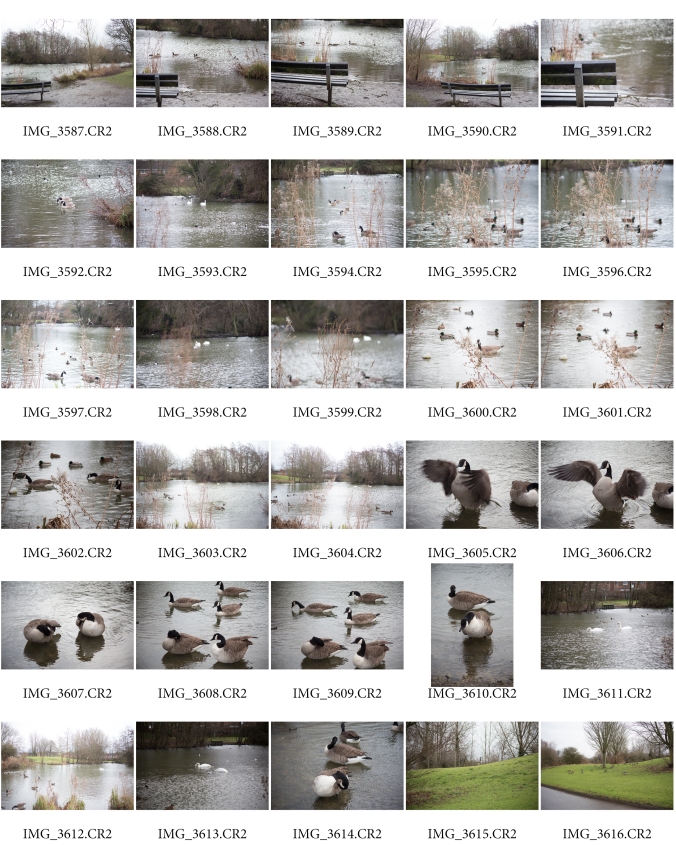
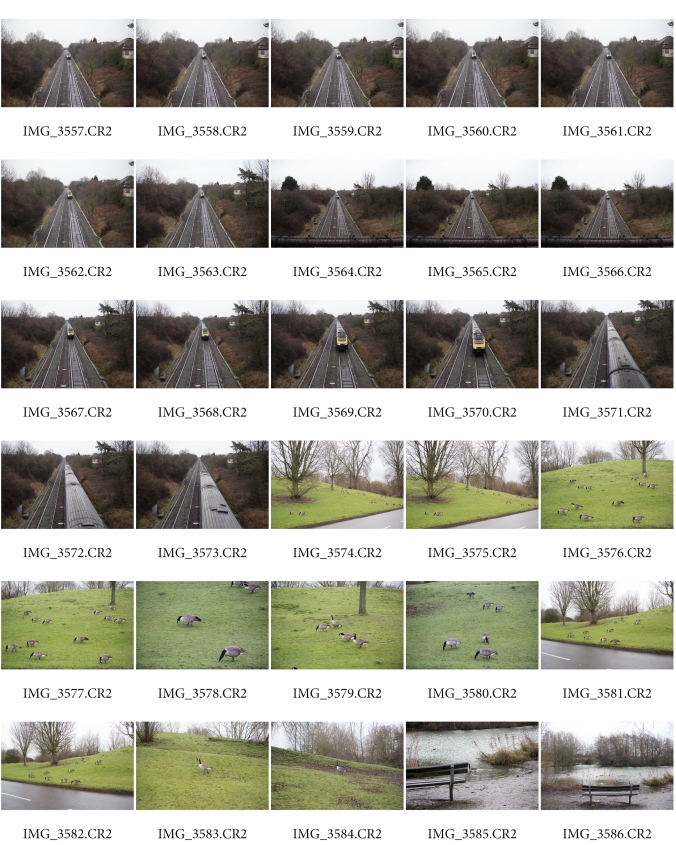
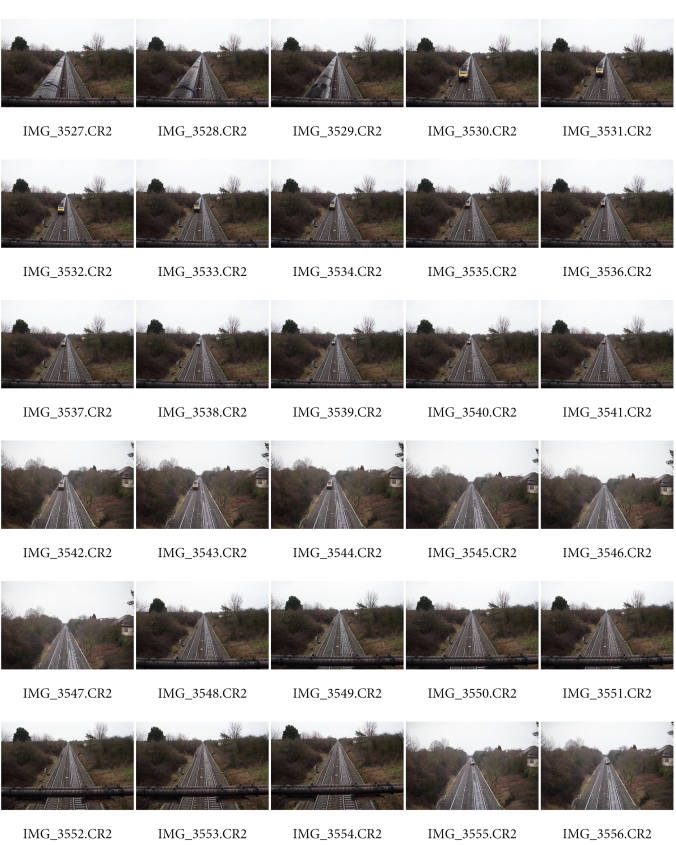
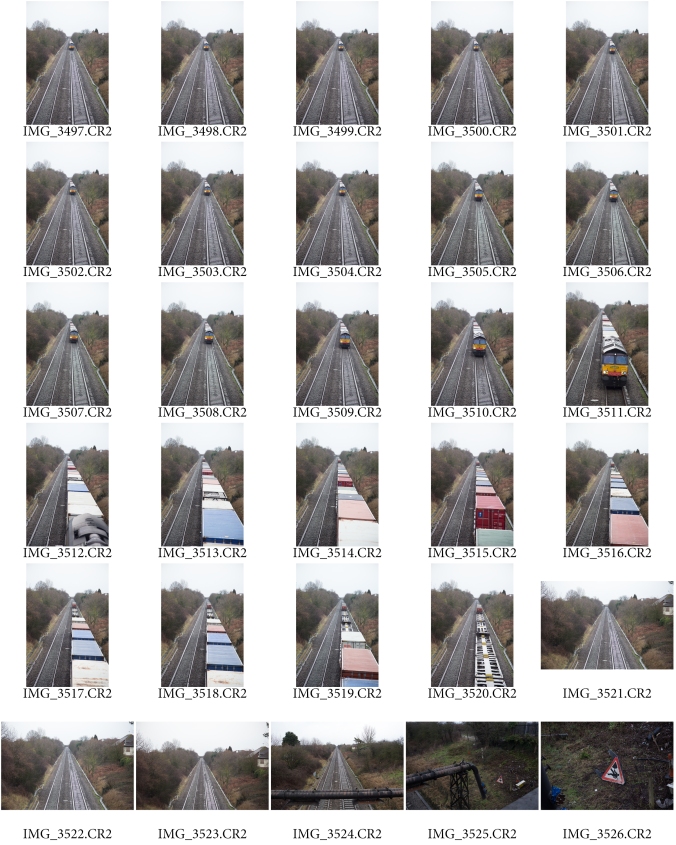
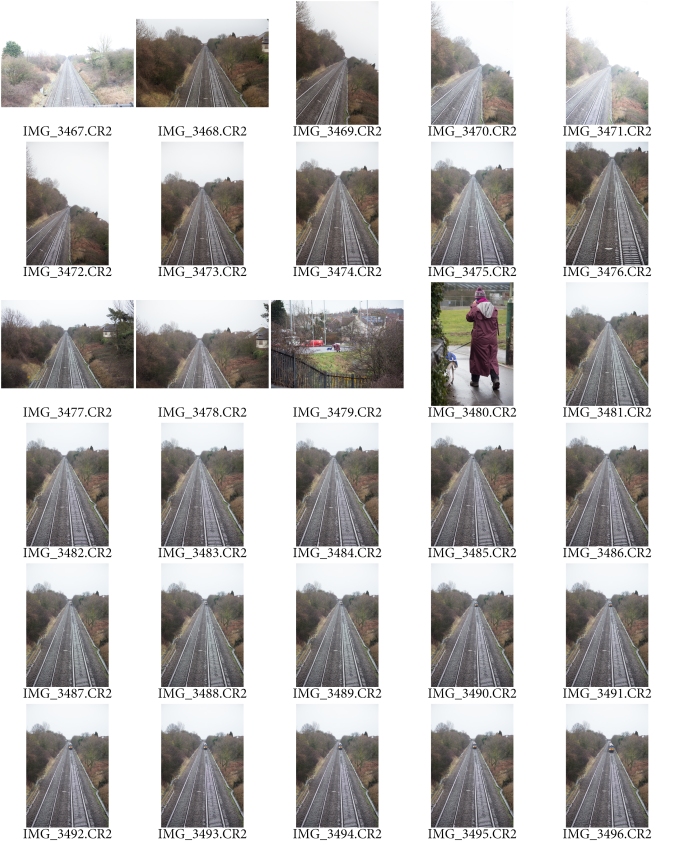
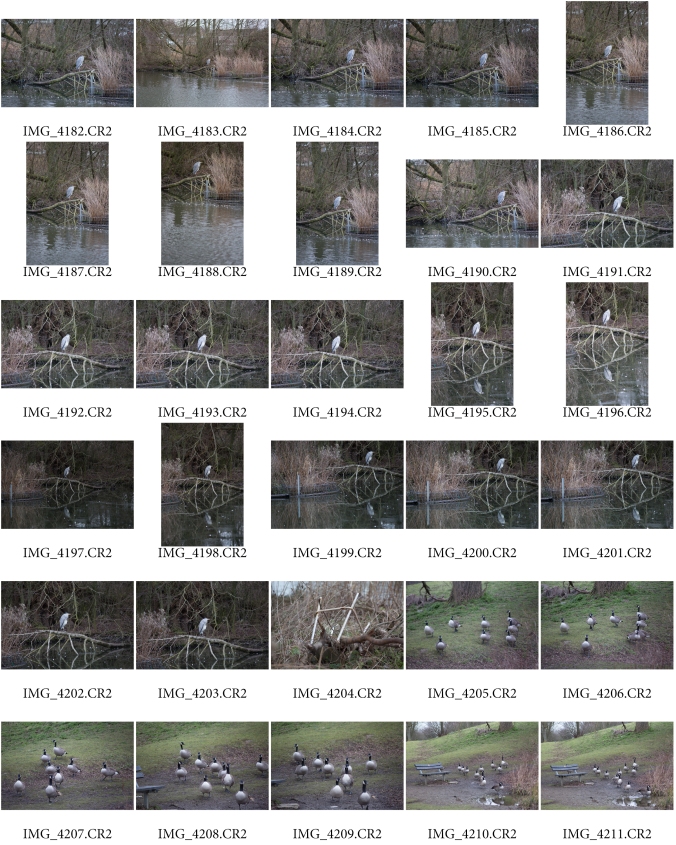
Saturday 31/1/15 was the day I had planned to get out and about and start taking images and find a common theme/track I wanted to follow with this assignment. I want my images to fit together, rather than be completely random shots. The weather was typically english – wet! It even threw a light layer of snow into the mix but luckily the rain was melting that. Nevertheless armed with my list, the train timetable, tripod and obviously my camera off I set to the railway bridge. That done I pass 1 of 2 local lakes where I spotted geese grazing as if sheep, and then continue to the local hospital where they have an interesting iron statue. This was also the first opportunity I had to use my new Canon 6D outside. My aim was to show a depth of field where the forefront is pin sharp yet the background is blurred; that is known as a shallow depth of field. I put my camera on manual, chose my focal point on the viewfinder, set the ISO & aperture quite high and started from there, moving up & down a notch at a time to get different results. Here, see for yourself:
Thoughts
I decided that this week I would step away from the camera! The images from my first photowalk weren’t working together in the way I had envisioned.
Camera down I decided to put my time to good use and attempt to plan a route through the first assignment. Talking to other students on the OCA Photography Facebook page really helped to give me clear and concise direction. I’d already started a spider map but as an extension to this devised a “To Do” list (below):
- Re-read Brief. – Read and highlight important parts. It seems the only way to do ‘this’ for me is to break it down step by step, if I look at the whole picture it becomes too scary!
- Research practitioners listed. – most practitioners have been researched; some of the links provided gave better levels of information than others but were a great starting point. Artists like Gawain Barnard, Tina Barney, Tom Hunter and Jodie Taylor were the ones that most inspired me and I plan to incorporate their style into my own photography in future assignments where possible. I had thought I would walk the streets at dusk taking photos from the outside in; the homeowner’s lights exposing their lives to the world. Not sure if I am brave enough for this yet! The greatest inspiration for my own set of images has come from Jodie Taylor, a fellow student who’s blog I have seen.
- Read Exercises. – I’ve now have some ideas on how to execute the exercises and am looking forward to starting them.
- Photowalk 2 – Only after doing all of the above would I plan to go out again.
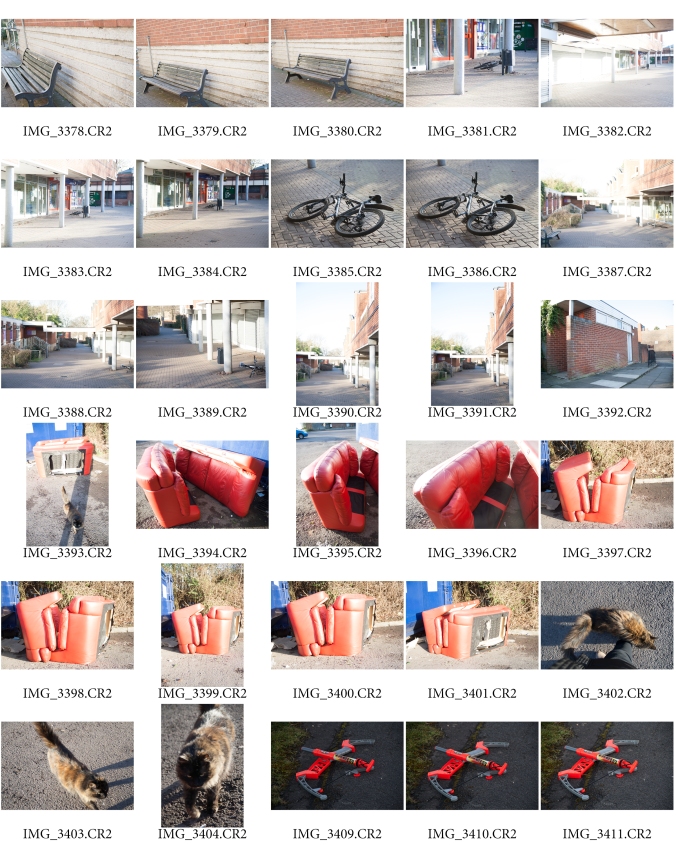
Photowalk 2 – 07/02/15
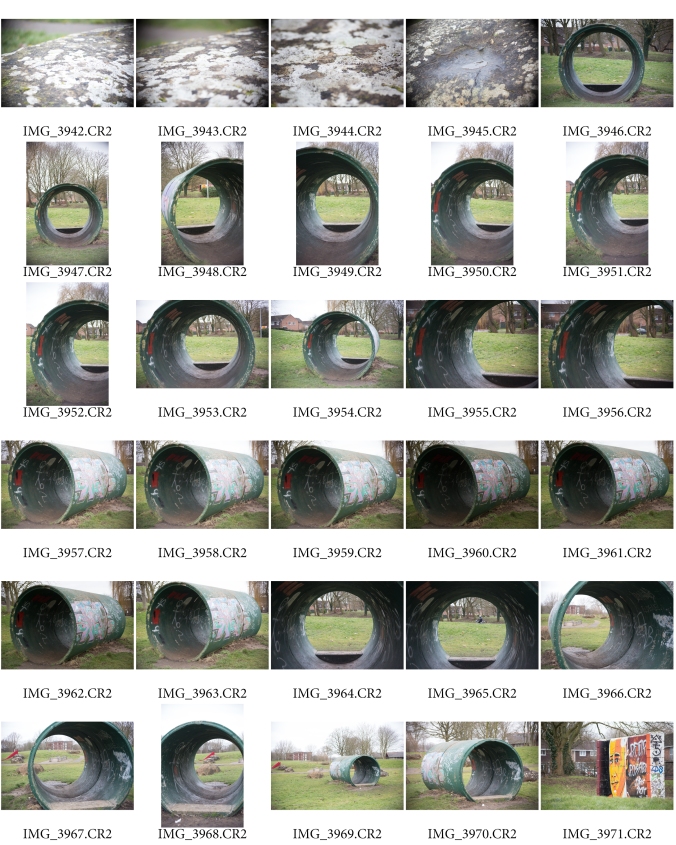
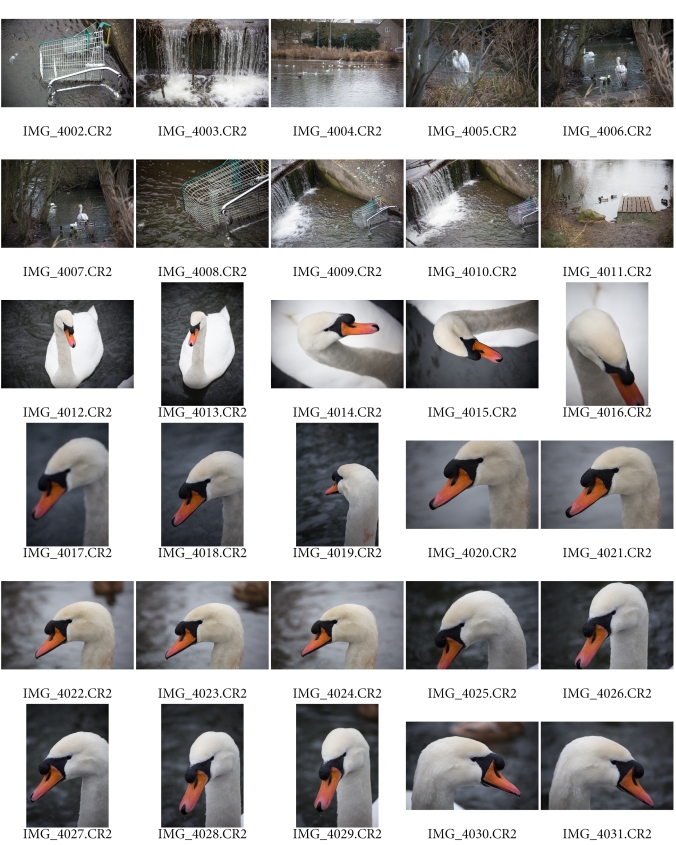
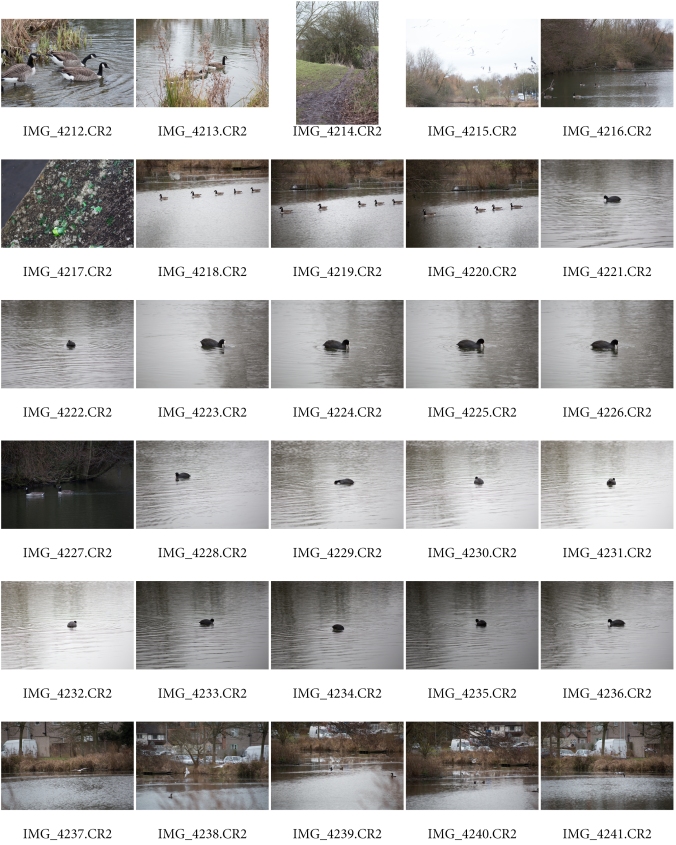
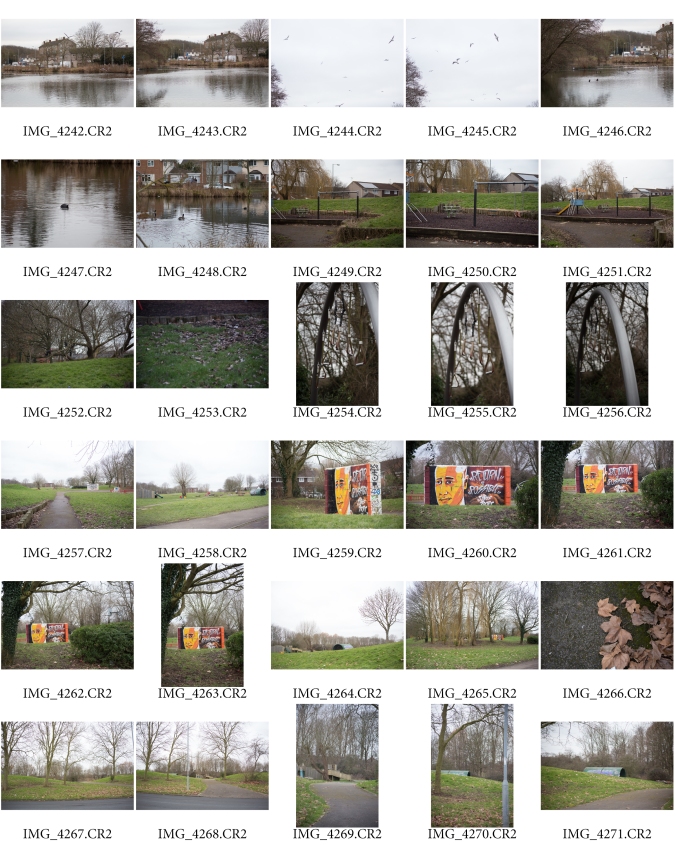
Not satisfied with my images from Photowalk 1 and having been inspired by Jodie Taylor’s work I was ready to go out again. Focusing my efforts on Shaftesbury Lake and the adjacent adventure park I set out to see what I could find. Ideally I would encounter some human activity since including people amongst this environment would provide a story to my feature. Instead I was faced with a dull cold day and little in the way of human activity. I did however find wildlife and rubbish! Maybe something was starting to take shape?

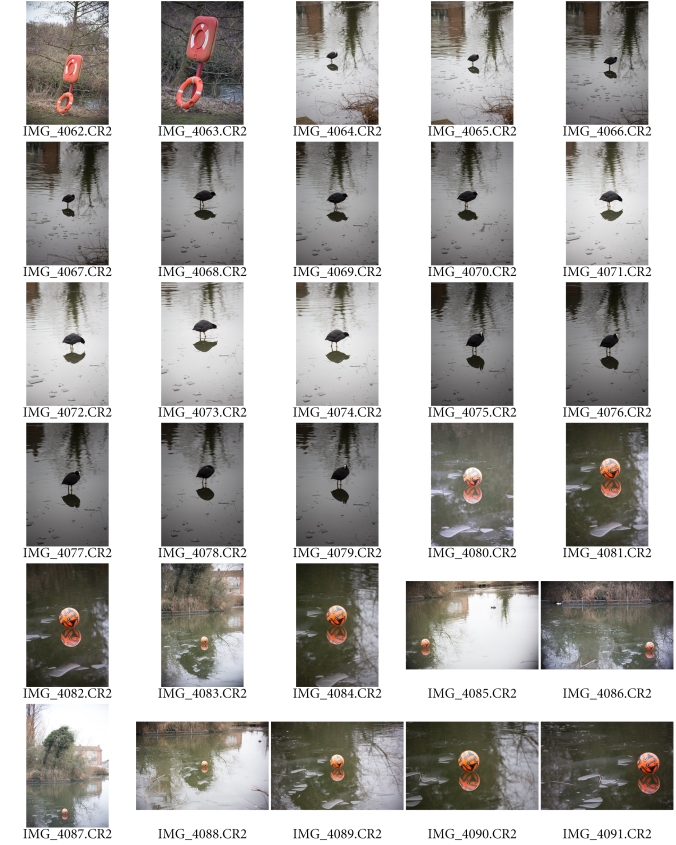
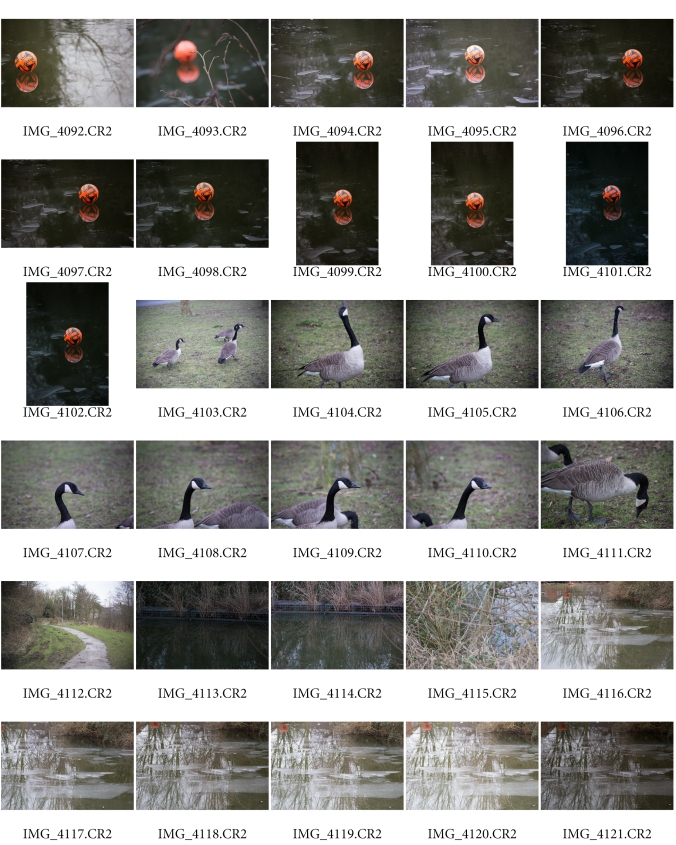

Photowalk 3 – 8/02/15
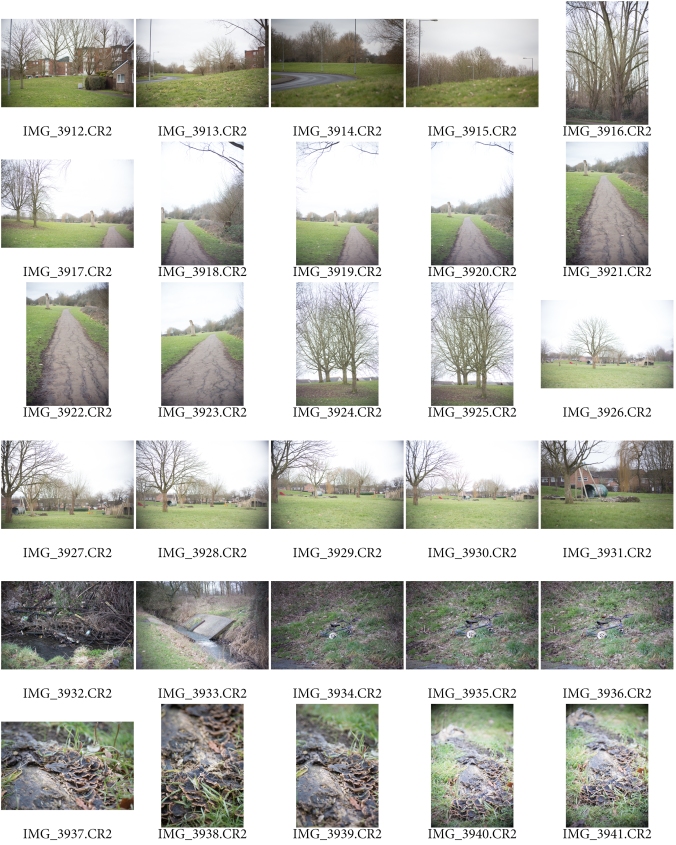
Yesterday was a more successful day with what I hoped are a couple of edits starting to develop. I am thinking about either focusing on the abandoned items or the wildlife, at this point edging slightly towards “Abandoned”. There are a few more areas I want to capture and decide to go out again with my Canon 1000D this time and 18-135mm lens in order to capture some wider angled shots.
Research
Tom Hunter
tomhunter.org
Tom Hunter the Hackney, East End photographer is an artist who immediately stood out for me. His extensive biography and list of achievements and awards are a true credit to his work. Born in 1965 this talented guy is only 5 years older than myself; to have achieved so much in what seems such a short space of time is incredible.
In his Persons Unknown collection he is inviting people to look at his life from the outside, a kind of through the looking glass effect. This collection and my recent research into the legal restrictions of photography (members of the public and the media do not need a permit to film or photograph in public places) has inspired me to produce a body of work along the same lines; I can stand in the street and photograph inside a home. But this will be reserved for a future project.
I also looked at “The Ghetto” street; Hunter produced a 3D model of Ellingfort Road, the street in which he once lived. This model now has permanent residence at the Museum of London.
Gawain Barnard
gawainbarnard.com
Gawain Barnard’s “Journey by Train” images show a mixture of skill and either impeccable timing or sheer good luck. All taken as a passenger from the inside window of a train traveling at varying speeds, framing and capturing his subjects. I get the impression that the train was moving whilst all the images were being exposed therefore consideration was given to the shutter speed in order to show some subjects with movement and others with none.
Tina Barney
http://www.gallery339.com/html/artistresults.asp?artist=49
This American born photographer is best know for working close to home by choosing family and friends as her subjects. Her images, in my opinion, are documentary, documenting family life from the outside. Her work although similar to Tom Hunter’s differs in that her subjects are from a more opulent background. Her family became accustomed to her shooting them; she tells David Corey* in an interview for BOMB Magazine (see link) that she “reached a point in her life where she realized how precious certain things were to her and decided she had to record them”. Shooting pictures of them is her the equivalent of a diary.
*David Corey is a freelance writer and critic who lives in New York. His recent work on the photographer WEEGEE has appeared in Talking Pictures (Lookout/Chronicle), Newsday, and at the International Center for Photography. He is the author, with photographer David Levinthal, of Small Wonder, which will be published by Smithsonian in 1995. He also teaches comparative literature and film at Brooklyn College.
Jodie Taylor
http://jodietaylorlog.moonfruit.com
Having researched several photographers Jodie Taylor’s work titled Memories of Childhood inspired me the most and my work in this assignment, I feel, is nearest to the style of hers than any of the others. To me Jodie’s pictures say “council estate”. Although her images appear to be captured in an area akin to a council estate Jodie has found by framing her images well she is able to distract the viewer from the less aesthetically aspects of the images other photographers researched focused mainly on people. Jodie returned to her childhood area and chose to shoot on 35mm film as she felt this medium best fit the era she was trying to depict. Her images are not what you would call “classically beautiful” but are framed well; and in being so she was able to distract the viewer from the rundown nature of the content.
Final Images
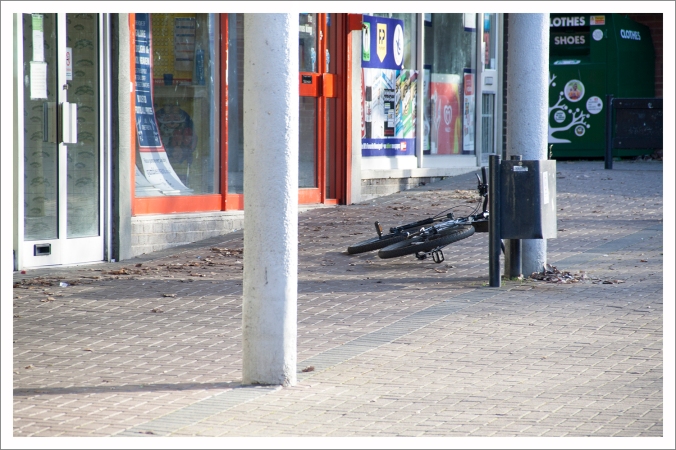
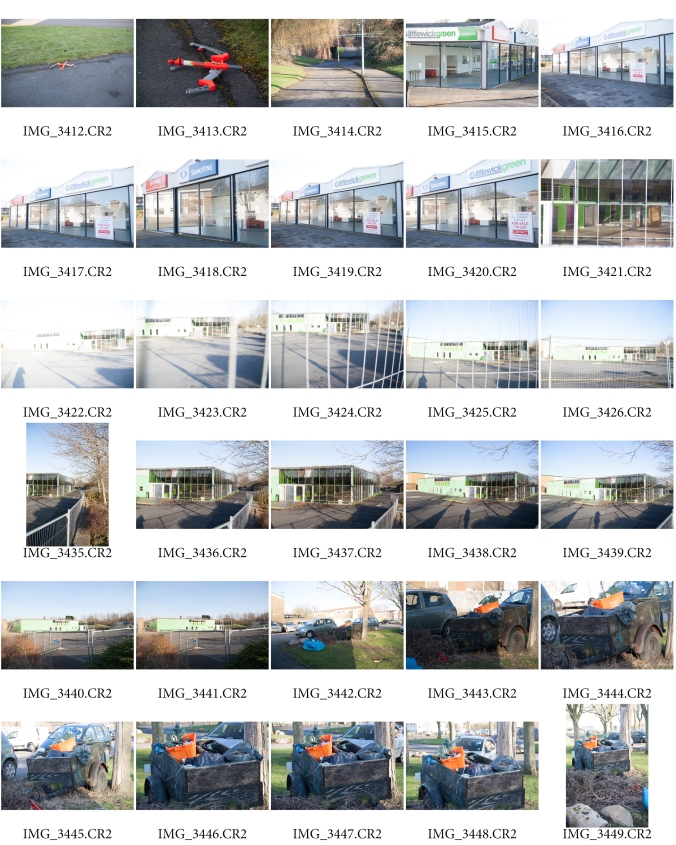
1. Pillar of the Community
Taken in a deserted community centre less than 150m away from my house this area was once a hive of activity. The arrival of a larger supermarket chain across the road has seen its demise with only a betting shop, newsagent and take away remaining, all due to close themselves within the next few weeks. I was attracted to the scene by the bike that looked like it had been abandoned just as the shops had.

2. Pedal Power
A close-up shot of image 1. The title of this photo was arrived at as it was dumped outside a betting shop which led to a play on words of Paddy Power! I like the shadows and emptiness of this image yet the diagonal line through the middle right of the image adds interest and draws the eye across the image.
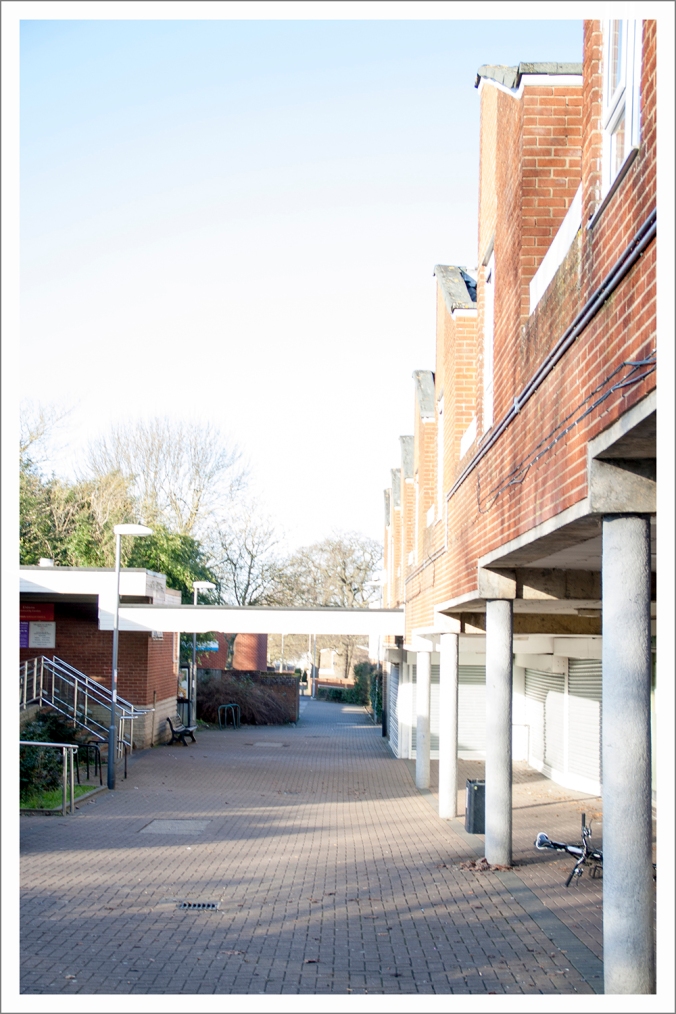
3. Not the Centre of Attention
The buildings to the right are due to be demolished and redeveloped very soon. Although rundown the buildings are fairly modern judged on the standards of others throughout the town. I was drawn to capture this image to show how the buildings and pillars narrow towards the centre providing a depth of field to the image.
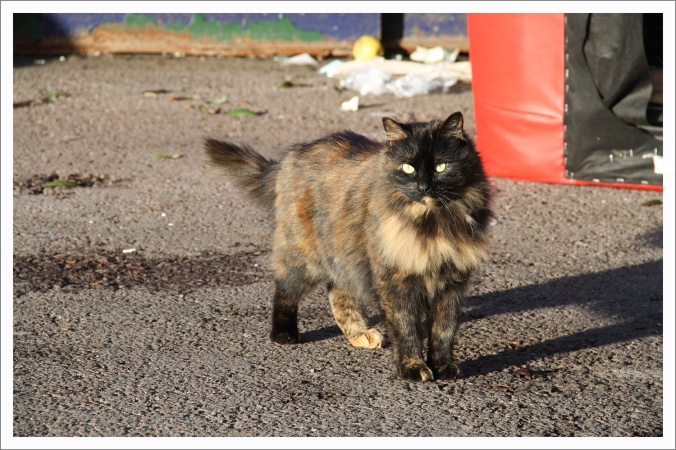
4. Feline Friend
After leaving the deserted shopping centre I turned the corner to the carpark next door and as predicted it was similarly empty, except I spotted some fly-tipping in the corner next to the recycling centre. On approach I disturbed this little beauty (I will call it a her for reference). She immediately befriended me weaving through my legs and gave me a sense that she too had been abandoned here. It took several attempts to capture her since she wouldn’t leave my side. I had to walk her back to the sofa, then run away and turn quickly to get the shot before she ran back to me.
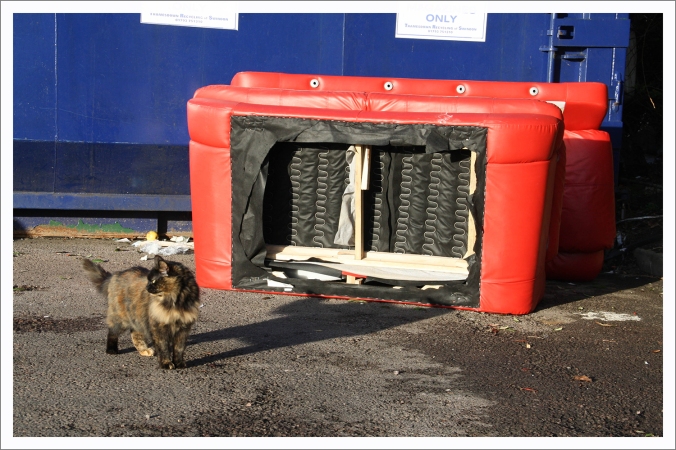
5. Cat Shelter
My cat friend appears to find some respite within these sofa’s. I am pleased with this image, I like to think it tells the story of her keeping watch. It was hard to leave her behind but I now know she is fed by the local residential home. I am sure she would have followed me had it not been for the arrival of a family disposing of their recycling.
6. For Recycling

7. Take me to the Tip
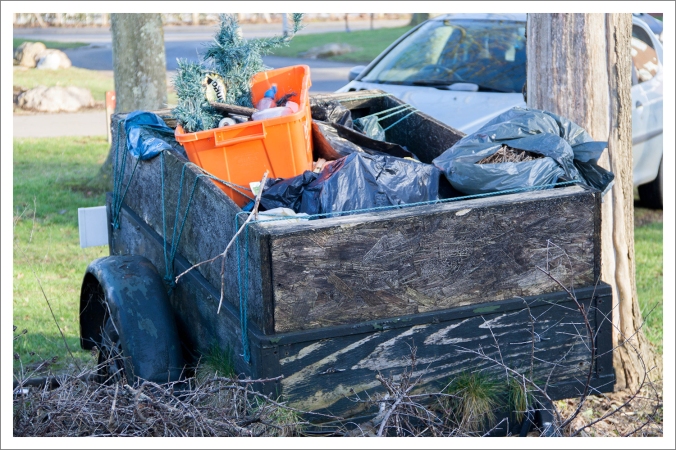
Moving away from the carpark and shopping centre I walked further into the housing estate to discover this rotting trailer. My humorous side is wondering if the owners put the orange recycling box inside in anticipation that the bin men would assume it is all for the recycling plant? No – in reality it is never that easy!
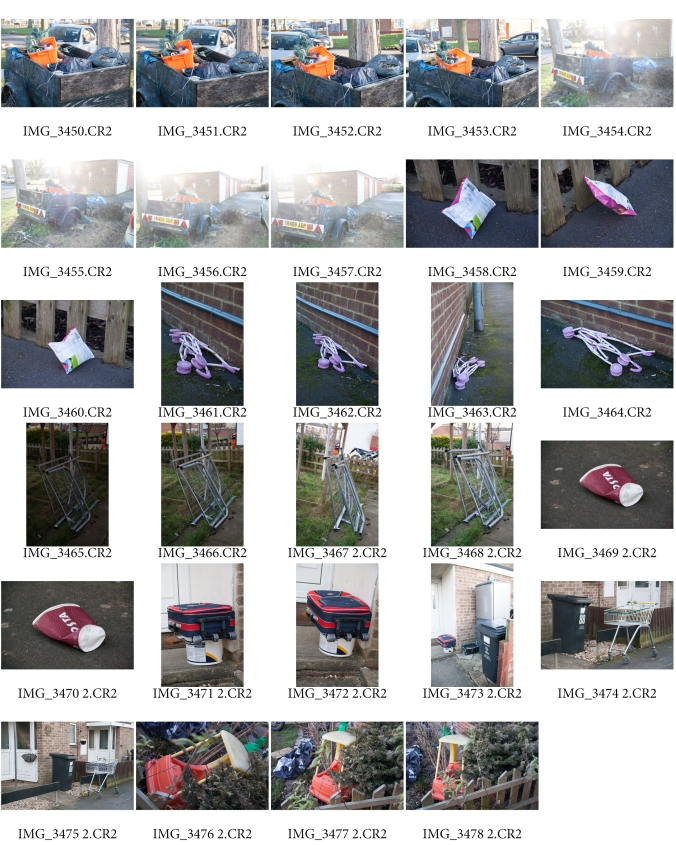
8. Travelling Den
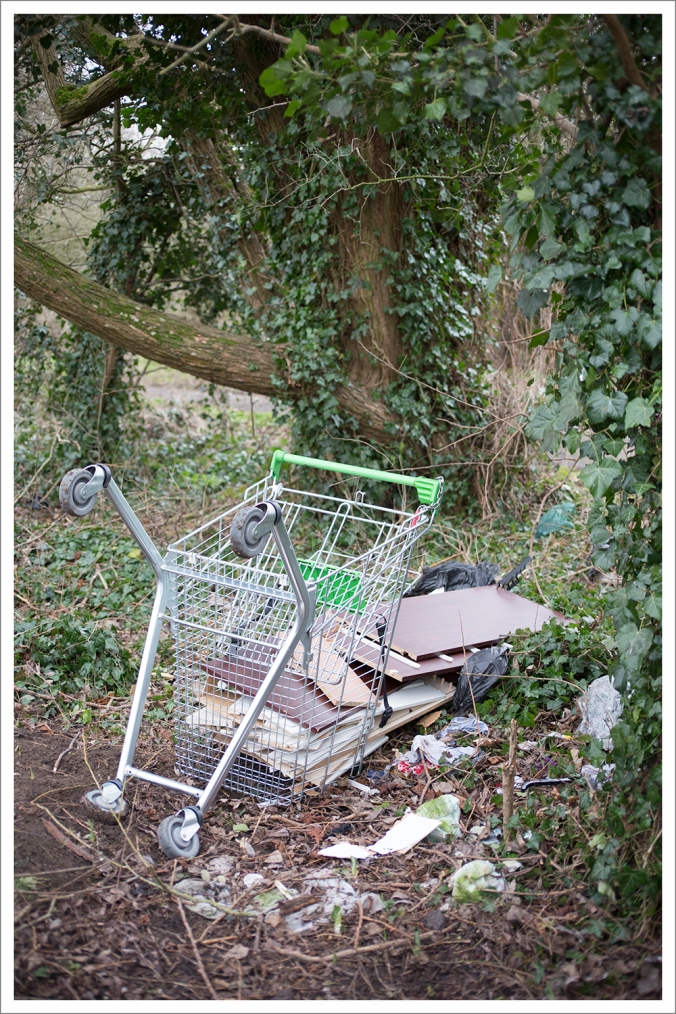
Over the other side of the estate near the lake and park I find a barrage of abandoned shopping trollies. The kids are enjoying having the means in which to collect their junk to build dens. Parked at the bottom of a tree and pushed over to unload is this image saying ‘tree house in the making’?
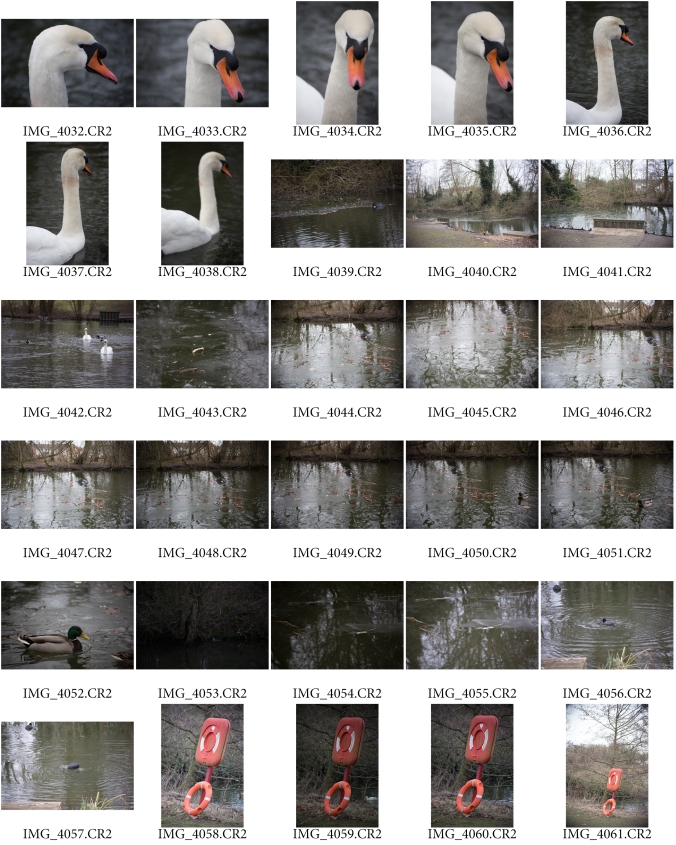
9. This Trolley Can’t Swim

10. Morrison’s Special
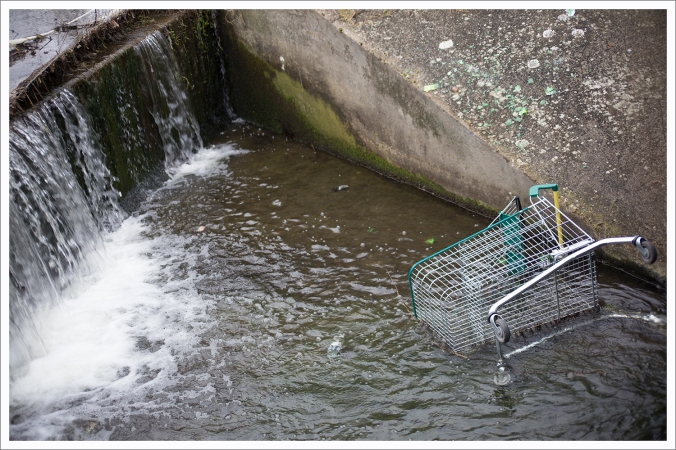
Leaving the potential den I walk further towards the lake. Approaching the weir I spot more trollies. My story is developing into trolley-gate!

11. Goose Game
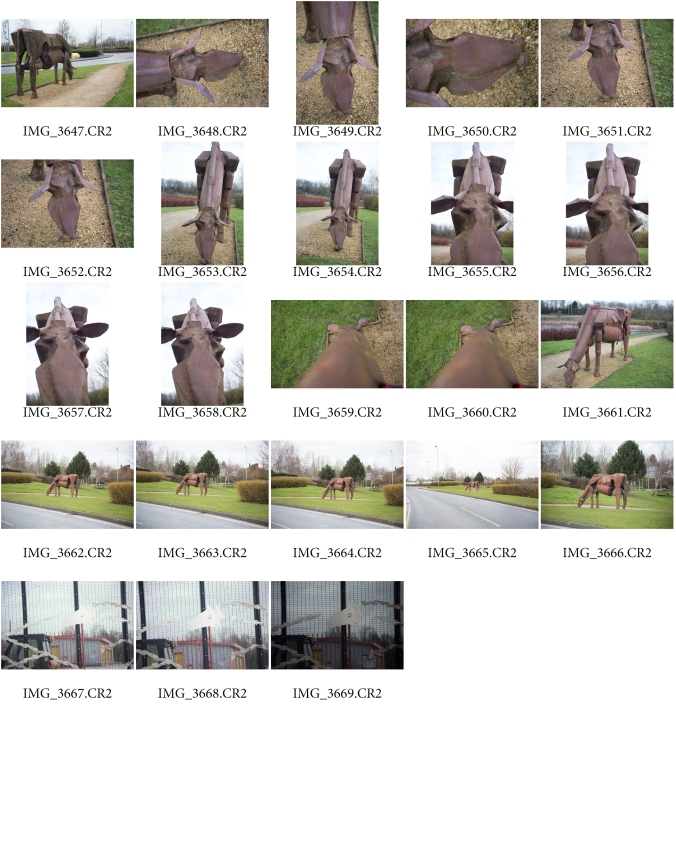
At this point I thought the football was stranded on the weeds in the lake. One of the geese looks keen to play a game! The reflections were made clearer by the layer of ice which run under the surface of the water. I have many more reflection images which can be found in the contact sheets above.
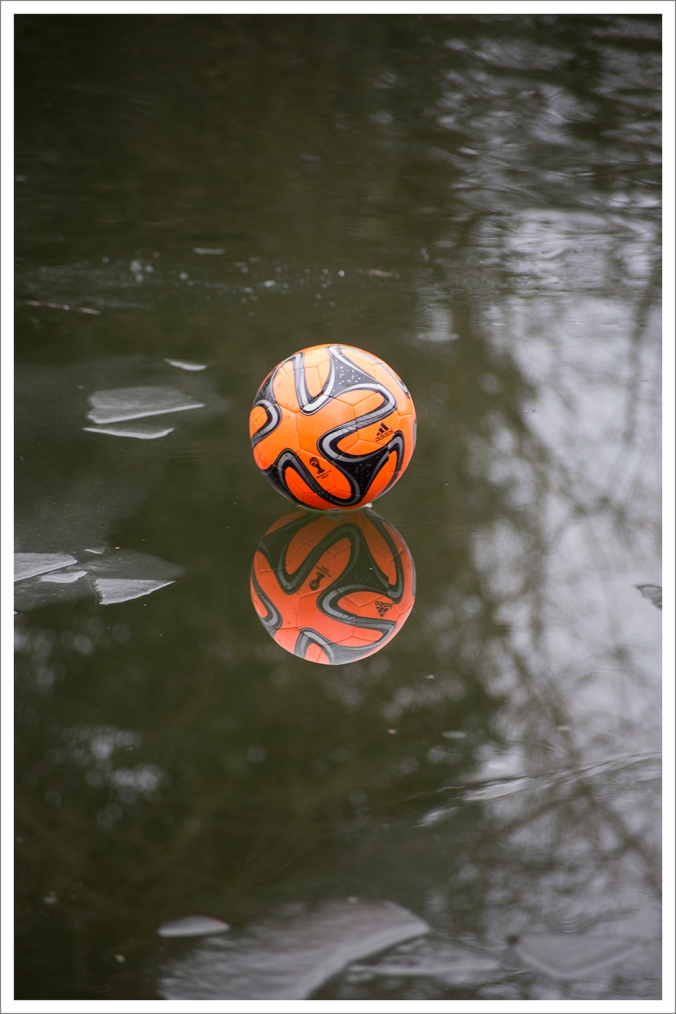
12. Freeze Frame
I like the clarity in the reflection of the football in the water on this image, yet the remainder of the reflection is out of focus. In this close up image it’s easier to see the ice layer under the water which is acting as a mirror for the ball. This fits into my abandoned story as it was out of reach from the edge of the lake.
Review
Once I had decided what I wanted to photograph the hardest part of this project for me was how to put it all together for submission. I have deliberated over the format and content for many hours, avoiding getting down to it with the excuse that I need to do more research. To be honest no amount of research will every get you over the nerves of submitting your first assignment. In the end I decided to do it in my own style and await feedback from my tutor that I can then learn from for future work.
My submitted assignment can be found here.


You must be logged in to post a comment.